Accademia Riaci
Student Reports
Read all class reports from our students!
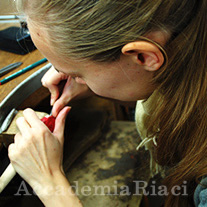
S.K.
Nationality: Finland
Course: Jewelry Making
Program: 1year ATELIER COURSE
Period: Oct.14,2013 - June 6,2014
Feb. 06, 2014 | Posted in Reports, Jewelry Making , Student Reporter | Tags:S.K., Jewelry MakingReporter: S.K. | Course: Jewelry Making
How to make an “Hollow Ring”

1. For the hollow ring I first prepared a square top and a ring.

2. I fused the silver for the outside of the ring, and made it flat in the rolling mill.

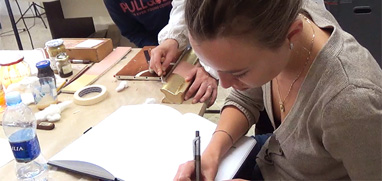
3. Measuring the silver piece and deciding the size of my hollow ring.

4. Here I have bended and shaped the outside part of the hollow ring and am now cleaning it with emery paper for soldering the top on it.

5. Here I attached the top of the ring to the outside part with a thin iron wire while soldering them together.

6. Now the op and the downpart of the ring are soldered.

7. The next step was to make a perfectly fitting side piece for the ring.

8. I cutted a hole for the finger and soldered the side piece into the top and the outside part.

9. A close u picture of the soldering seams from inside of the sing.

10. Here I’m preparing to solder the second side piece of the ring; putting borax to protect the metal from oxidation and so helping the solder to run on its place.

11. Here is a close up picture of my soldering pieces.

12. Both sides of the hollow ring are soldered and the inside is cleaned.

13. The next step was to shape the holes for fingers so that the ring that goes inside fits perfectly.

14. Then I attached the ring on sealing wax, and started to mark the borders for decoration.

15. Here is a close up picture about the ornament with rose and leafs halfly engraved on the surface of the ring.

16. After marking the ornament I started to carv out metal from the backround to make the engraving more deeper.
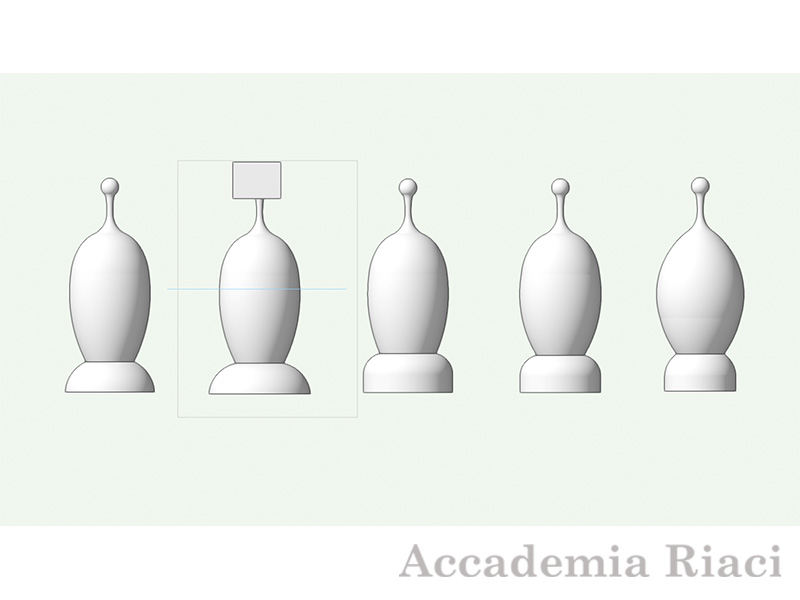
Furniture Design One-Year Course (#13) – K T Truong
Due to the help of the professor, I was able to mo…
Language:
Reporter: Kha Tu TRUONG
Course:
Furniture Design
Graphic Design & Illustration Short Course (#04) – Roanne D.
This is my last week of class. We studied a variety …
Language:
Reporter: Roanne Descallar
Course:
Graphic Design

Architecture Report #21 – Daniella Ruiz
Week 9 Summary – Dublin, art visit, museums & Fiesol…
Language:
Reporter: Daniella Ruiz
Course:
Architecture
At Accademia Riaci, we are recruiting Course Reporters from our students. The students who are chosen to become Course Reporters are given 10 % of the tuition as their scholarship fee.
The Reporters who have submitted excellent reports will have his or her profile posted on our school website for the next 5 years as an alumnae and will be able to connect with their business chancesafter their graduation.

